How To Braid: 6 Creative Braid How To’s!
Braiding is a fun twist on any hairstyle. They’re suitable for every age, and always look effortlessly put together. That being said, not everyone is an expert braider. But, you don’t have to be.
We’ve put together a list of our favorite braids and how to complete them. We’ve included tips, tricks, our favorite styling products as well as helpful tutorials to get you through the harder ones.
There are easy braids and complicated ones alike to challenge even the greatest braiders. Beginners are welcome, and we’ve got some super simple braids to get you started on your braiding journey!
1. Viking Braids
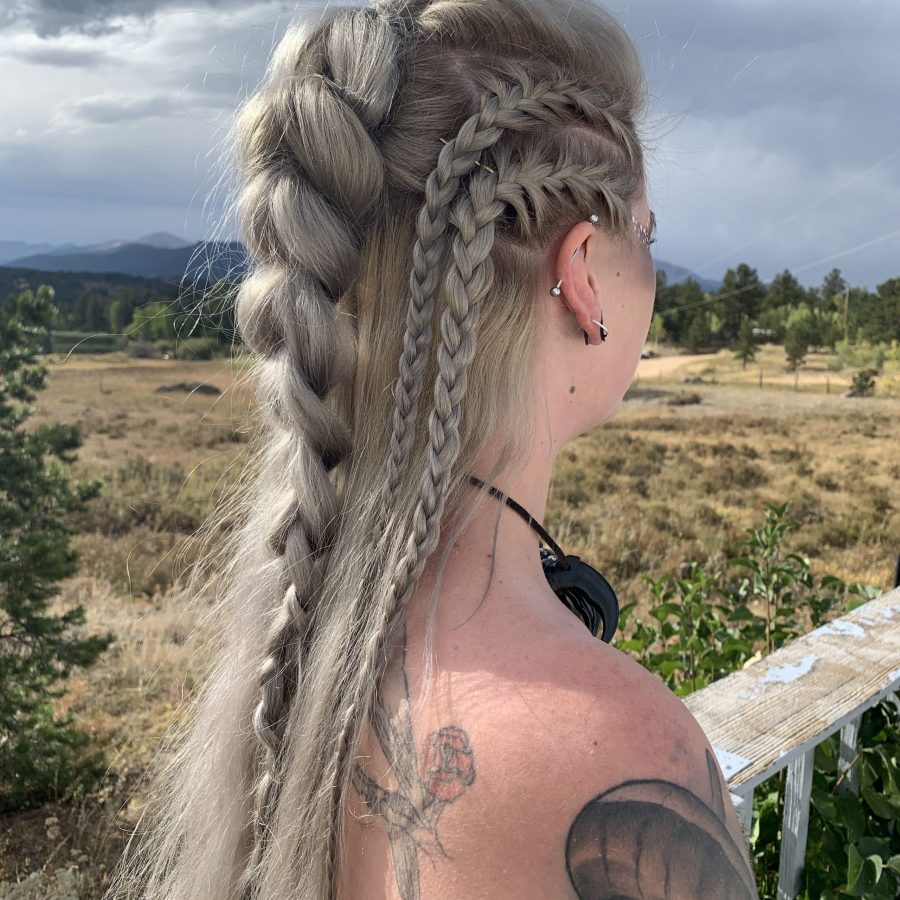
Viking braids were made popular by the show Vikings. This style of braiding includes two braids on either side of the head with a French braid going down the middle. It’s meant to look rugged and natural, not perfect like other braid styles.
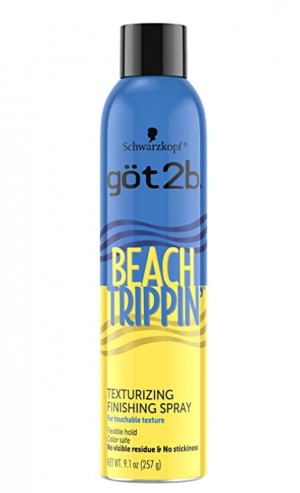
The key to this style is a good texturizing product to get your hair to hold all day, especially if you’re braiding recently washed, clean hair. Some of our favorite texturizing products include got2b Beach Trippin’ Texturizing Spray, OGX Extra Strength Refresh Restore + Dry Shampoo, and the John Frieda Frizz Ease Styling Foam.
For this look, section off two bunches of hair on the side of your head, near your ears. French braid them at the root, but once you hit your ear, continue with a normal braid so that it falls in line with the rest of your hair.
Once you’ve completed the two braids, section off a larger chunk of hair right at the top of your head and French braid it. The rest of your hair should be left down and the braids should blend in for an interesting, textured hairstyle.
2. Dutch Braids
Dutch braids seem more complicated than they really are. If you can French braid, you’ll be able to Dutch braid. This is because a Dutch braid is essentially the same thing, but you cross the strands under instead of over. Let’s explain.
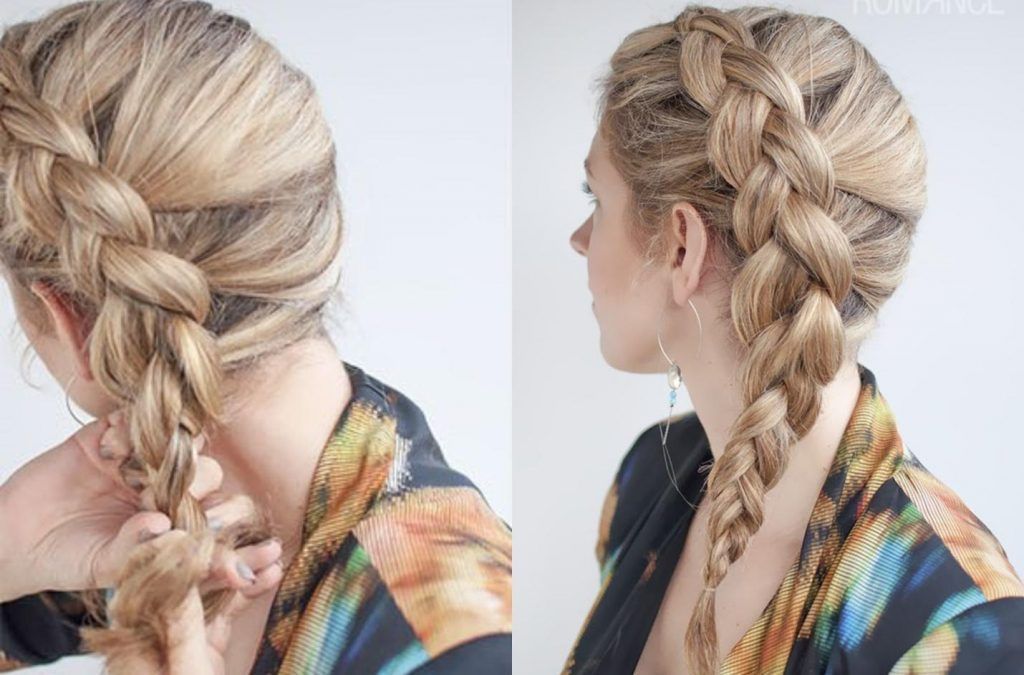
Gather your hair back and gather a section starting from your hairline. Split this section into three equal subsections. Then, begin braiding as usual, with the slight difference of passing the strands along underneath each other instead of braiding over.
Repeat the process until you get to the nape of your neck, then braid the rest of your hair as normal until you reach the ends, still making sure to pass the strands under instead of over.
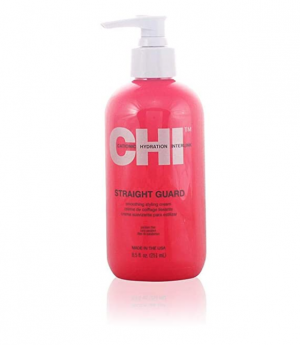
A Dutch braid is supposed to be smooth and sleek. To get that perfect brushed-back look, try some of our favorite styling oils and creams. The CHI Straight Guard Smoothing Styling Cream is a creamy product that has awesome hair control on top of eliminating frizz. It’s designed to help with smooth and sleek hairstyles.
3. Bubble Braids
Bubble braids are an easy way to get a cool hairstyle without time and effort. Not all of us are well-versed in French braids which is the base for many braiding hairstyles. Fortunately for us, Bubble braids don’t require any braiding at all. We’ve seen this style on celebs time and time again from Doja Cat to Priyanka Chopra Jonas.
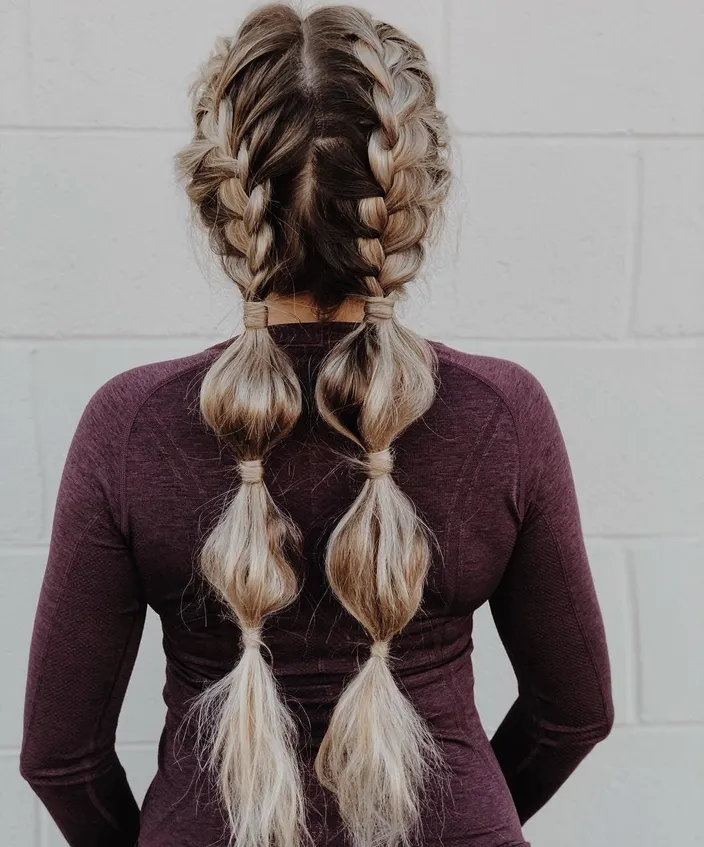
Essentially, Bubble braids are created by creating little hair bubbles using tiny hair elastics. To achieve this, start by tying your hair into a ponytail. This style can be as sleek or as natural as you want, so pull your fringe or baby hairs as desired.
Then, take another small elastic and tie it a couple of inches down from the top of your ponytail. Tease and loosen up this section until it takes on a bubble shape. Repeat this until you reach your ends. Go back in at the end and make sure that your hair bubbles even.
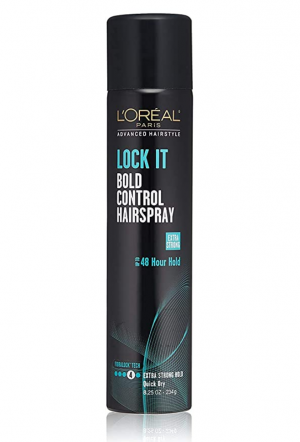
Lock it all in with the L’Oreal Paris Advanced Hairstyle Lock It Bold Control Hairspray to keep your hair styled all day long.
4. Bohemian Braids
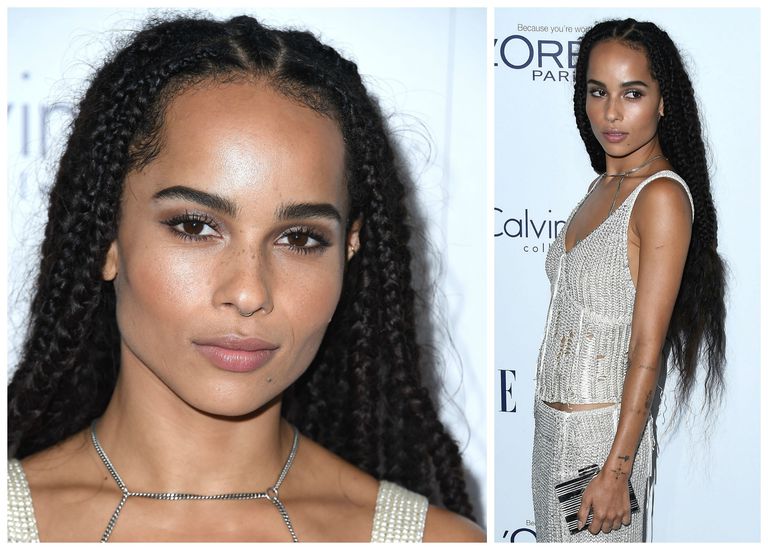
Bohemian Box Braids are a relaxed take on the classic box braid where only the first few inches of hair is braided. Zoe Kravitz has sported this look and put it on our radar. These boho box braids are tiny and intricate.
They take a lot of precise parting that is hard to do on your own. We recommend going to a specialty braider to get the best results. But, there are some things you can do at home to help this style look its best.
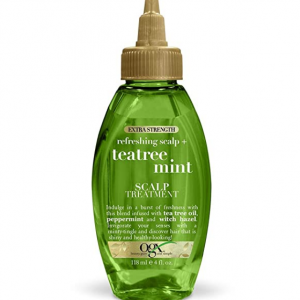
Scalp care is extremely important for box braids as part of your scalp will show through. A flaky, dry scalp will ruin the whole aesthetic! Our favorite scalp care products include the OGX Extra Strength Refreshing + Invigorating Teatree Mint Dry Scalp Treatment which helps to remove product buildup and leave your scalp feeling fresh and healthy. The Head and Shoulders Scalp Cream Treatment is a great scalp care product for anyone who suffers from dry scalp or dandruff. It’s a light, absorbing leave-in cream that helps prevent dryness and itchiness. It also helps to balance and restore scalp health.
Edge control is another important aspect of the Bohemian box braids. Having those baby hairs laid down and sleek is crucial. Our favorite edge control gel is the Cantu Extra Hold Edge Stay. It’s made with shea butter to condition and adds shine on top of smoothing frizz for a sleek, controlled look all day long.
5. Side Braids
Side braids are easy and versatile. You can repeat this style a million different ways for a different look each time. They keep your hair out of your face on those can’t-be-bothered mornings and are a great solution to a bad hair day.
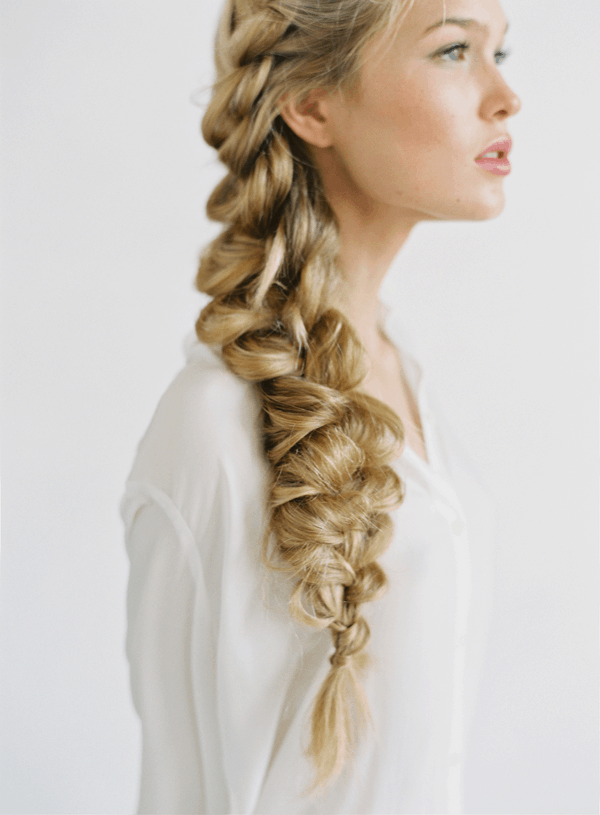
A messy, bohemian-style side braid is a five-minute hairstyle that will make you feel a bit more put together. These messy side braids are all about embracing texture. Simply gather your hair to the side and braid starting at the nape of your neck. After braiding, separate the braid so that it looks bigger and messier. It’s okay if some strands fall out, that’s the nature of this braid.
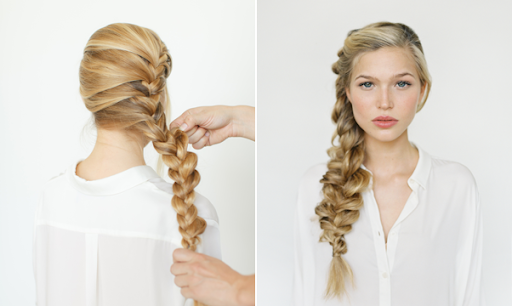
Another side braid version is to braid a section at the front of your face to blend into your natural hair. Simply section off the front section of one side of your head.
You can French braid the top and then continue with a regular braid once you hit the top of your ear, or you can French braid all the way down. This side braid style will make it look like you put more effort into your appearance than you did! It’s easy but effective.
Lastly, the side Bubble braid is a must-try. Take that same technique of a bubble braid that we went over earlier, and apply it to a side braid.
You can also do two Bubble braids, one on each side. This style is perfect for a music festival or raves where funky hairstyles are accepted and loved. They’re fun, playful, and great for all ages.
6. Celtic Braids
Celtic braids are the most complicated braids on this list. They’re beautiful and intricate but can be intimidating. They require some TLC and patience. You’re essentially creating a knot with the Celtic braid.
These braids are better shown through visuals as they are quite complicated, but let’s go through some tips to keep in mind when trying to accomplish a Celtic braid.
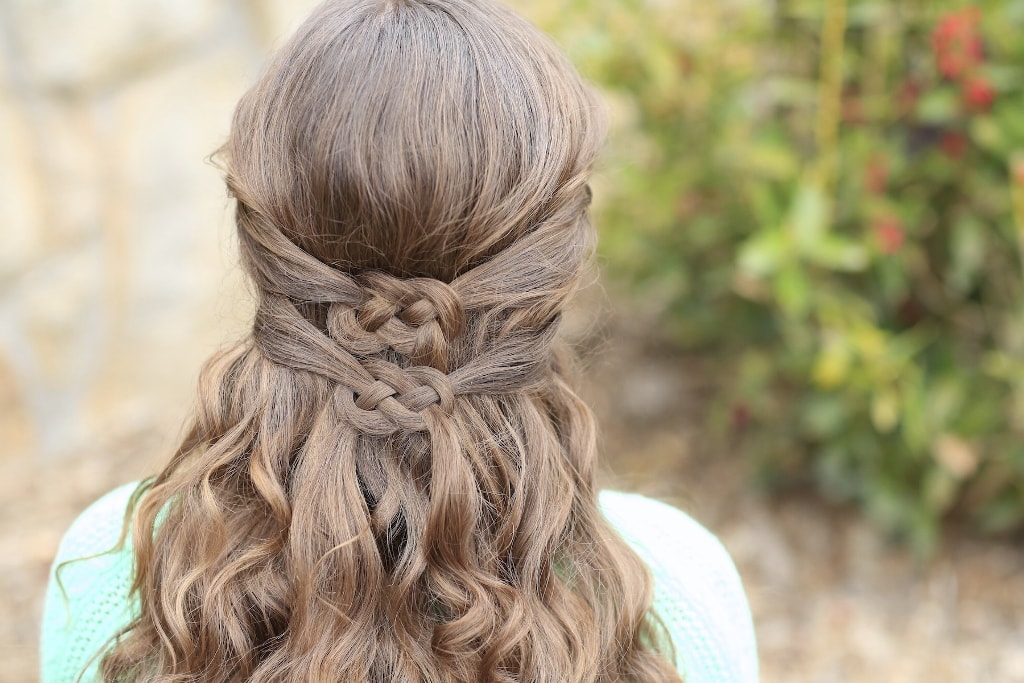
The first tip is to use smaller sections, about the thickness of a pencil. You’ll be using the sections to form knots, so the clunkier the sections are, the harder they’ll be to handle. The second tip is to ensure that any loops create are about two fingers thick. This will help give you enough room to work the hair through without too much struggle.
The last tip is to use clips! Clips are going to be your best friend. They’ll help you keep everything in place so you don’t lose your progress. Don’t be afraid to use clips to help you, you only have two hands.
This tutorial uploaded to YouTube by user EverydayHairInspiration is a great step-by-step guide for beginners. It demonstrates visually how to create these complex knots in a short, two-minute clip.


